Step-by-Step Guide to Programming CNC Gantry Mills with 5 Axis
Introduction
Programming CNC gantry mills with 5 axis can be a complex and time-consuming task. However, with the right knowledge and tools, it can be done efficiently and accurately. This guide will provide step-by-step instructions on how to program a CNC gantry mill with 5 axis. It will cover the basics of setting up the machine, creating the program, and running the program. By following these steps, you will be able to successfully program a CNC gantry mill with 5 axis.
Step 1: Set Up the Machine
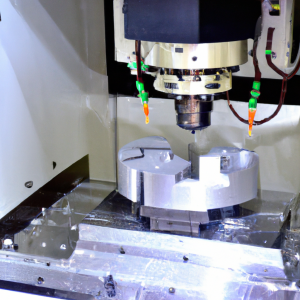
The first step in programming a CNC gantry mill with 5 axis is to set up the machine. This includes connecting the power supply, setting up the axes, and calibrating the machine. Make sure to follow the manufacturer’s instructions for setting up the machine.
Step 2: Create the Program
Once the machine is set up, the next step is to create the program. This can be done using a CAD/CAM software program. The program should include the desired tool path, the cutting parameters, and any other necessary information.
Step 3: Run the Program
Once the program is created, the next step is to run the program. This can be done by loading the program into the machine and pressing the start button. Make sure to follow the manufacturer’s instructions for running the program.
Conclusion
Programming a CNC gantry mill with 5 axis can be a complex and time-consuming task. However, with the right knowledge and tools, it can be done efficiently and accurately. By following the steps outlined in this guide, you will be able to successfully program a CNC gantry mill with 5 axis.
Understanding the Basics of 5 Axis CNC Gantry Mill Programming
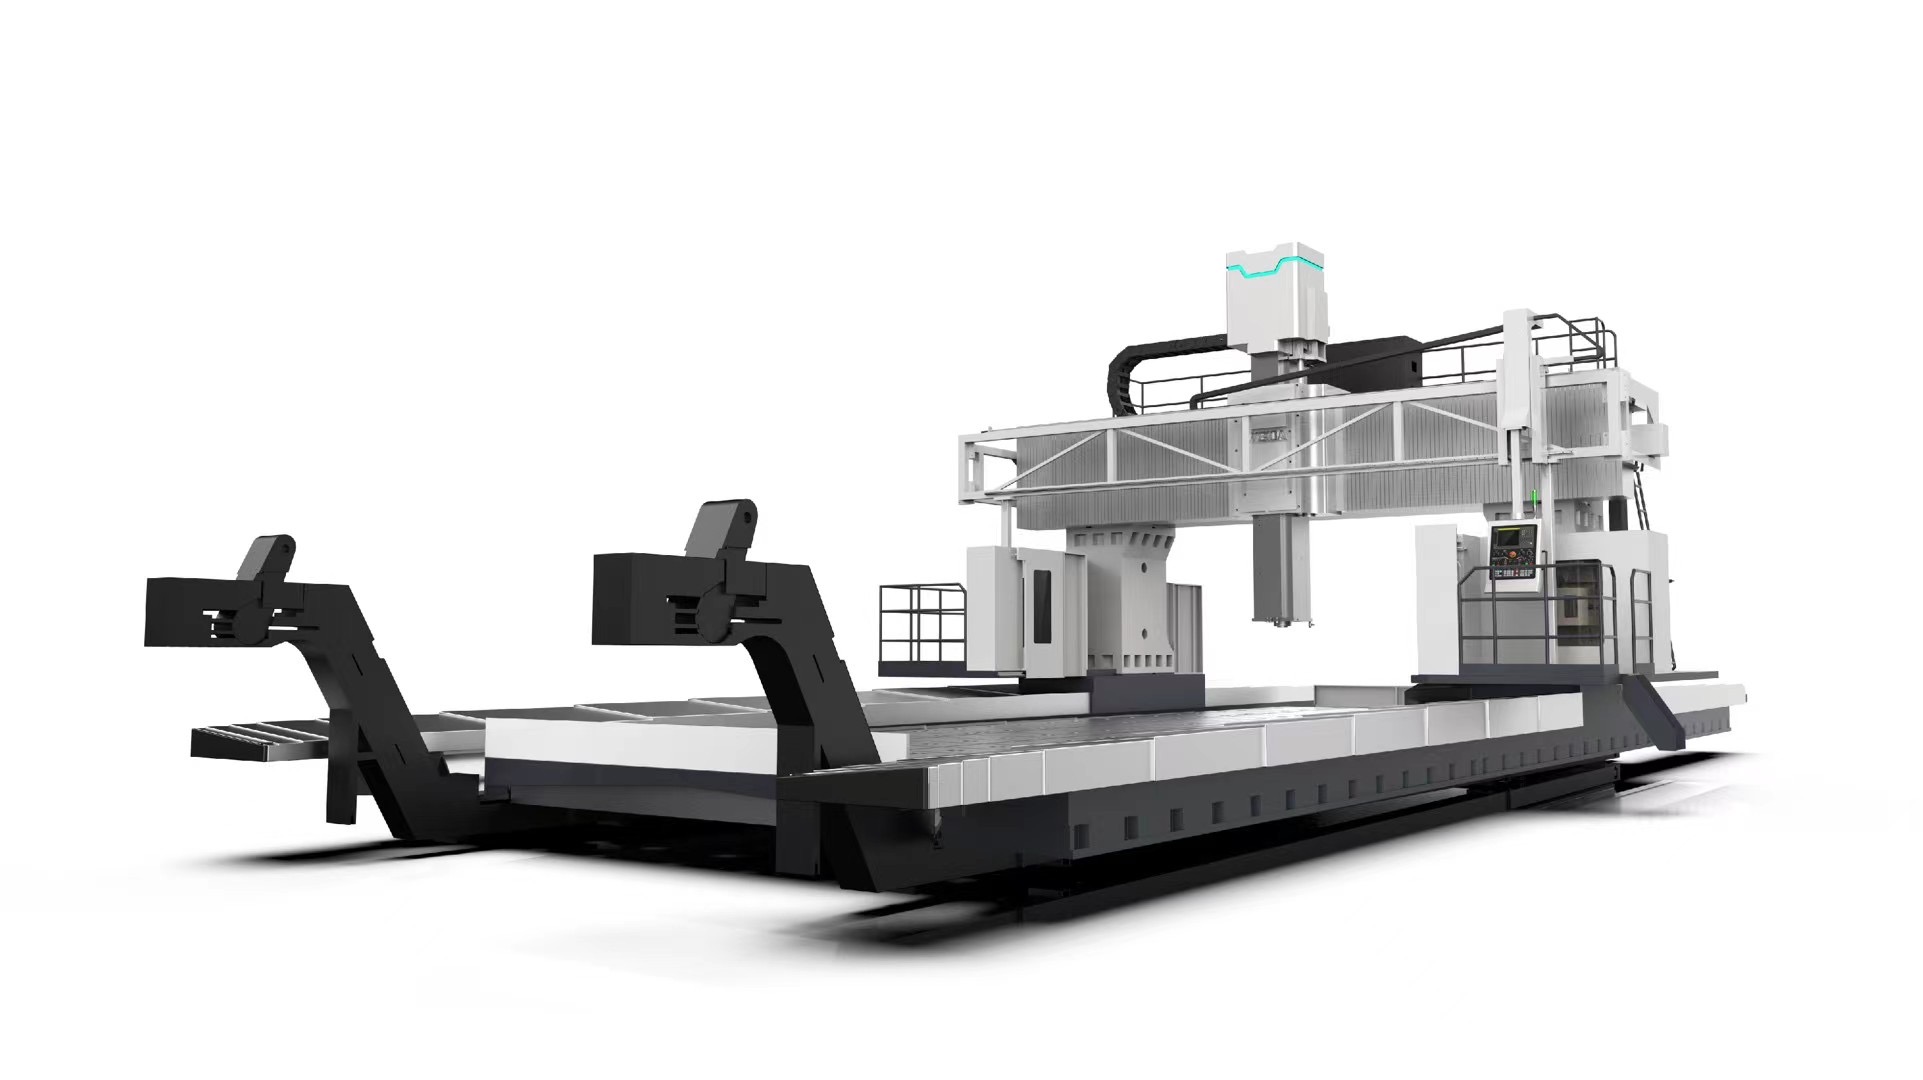
Understanding the basics of 5 axis CNC gantry mill programming is essential for anyone looking to use this type of machinery. This type of programming is used to control the movement of the gantry mill, which is a type of machine tool that uses a series of linear and rotary axes to move a cutting tool across a workpiece.
The first step in understanding 5 axis CNC gantry mill programming is to understand the different axes that are used. The X, Y, and Z axes are the linear axes, and they control the movement of the cutting tool in the X, Y, and Z directions. The A and B axes are the rotary axes, and they control the rotation of the cutting tool around the X and Y axes.
Once the axes have been understood, the next step is to understand the different types of commands that can be used to control the movement of the gantry mill. The most common commands are G-codes, which are used to control the movement of the cutting tool. Other commands, such as M-codes, are used to control the machine’s spindle speed and other settings.
Finally, it is important to understand the different types of programming languages that can be used to control the gantry mill. The most common language is G-code, which is a text-based language that is used to control the movement of the cutting tool. Other languages, such as APT and FANUC, are also used to control the gantry mill.
By understanding the basics of 5 axis CNC gantry mill programming, it is possible to create programs that can be used to control the movement of the cutting tool. This knowledge can be used to create programs that are more efficient and accurate, resulting in better results for the user.
Tips and Tricks for Optimizing CNC Gantry Mill Programming with 5 Axis
1. Utilize the full range of the 5-axis machine: Make sure to take advantage of the full range of motion of the 5-axis machine. This will allow you to create more complex parts with fewer tool changes and less time spent on programming.
2. Use the right tools: Select the right tools for the job. This will help to reduce cycle time and improve the quality of the finished product.
3. Utilize the right cutting strategies: Select the right cutting strategies for the job. This will help to reduce cycle time and improve the quality of the finished product.
4. Use the right speeds and feeds: Select the right speeds and feeds for the job. This will help to reduce cycle time and improve the quality of the finished product.
5. Utilize the right tool path strategies: Select the right tool path strategies for the job. This will help to reduce cycle time and improve the quality of the finished product.
6. Use the right cutting parameters: Select the right cutting parameters for the job. This will help to reduce cycle time and improve the quality of the finished product.
7. Utilize the right tool orientation: Select the right tool orientation for the job. This will help to reduce cycle time and improve the quality of the finished product.
8. Use the right tool length compensation: Select the right tool length compensation for the job. This will help to reduce cycle time and improve the quality of the finished product.
9. Utilize the right tool wear compensation: Select the right tool wear compensation for the job. This will help to reduce cycle time and improve the quality of the finished product.
10. Use the right tool life management: Select the right tool life management for the job. This will help to reduce cycle time and improve the quality of the finished product.

 The first step in understanding 5 axis CNC gantry mill programming is to understand the different axes that are used. The X, Y, and Z axes are the linear axes, and they control the movement of the cutting tool in the X, Y, and Z directions. The A and B axes are the rotary axes, and they control the rotation of the cutting tool around the X and Y axes.
Once the axes have been understood, the next step is to understand the different types of commands that can be used to control the movement of the gantry mill. The most common commands are G-codes, which are used to control the movement of the cutting tool. Other commands, such as M-codes, are used to control the machine’s spindle speed and other settings.
Finally, it is important to understand the different types of programming languages that can be used to control the gantry mill. The most common language is G-code, which is a text-based language that is used to control the movement of the cutting tool. Other languages, such as APT and FANUC, are also used to control the gantry mill.
By understanding the basics of 5 axis CNC gantry mill programming, it is possible to create programs that can be used to control the movement of the cutting tool. This knowledge can be used to create programs that are more efficient and accurate, resulting in better results for the user.
The first step in understanding 5 axis CNC gantry mill programming is to understand the different axes that are used. The X, Y, and Z axes are the linear axes, and they control the movement of the cutting tool in the X, Y, and Z directions. The A and B axes are the rotary axes, and they control the rotation of the cutting tool around the X and Y axes.
Once the axes have been understood, the next step is to understand the different types of commands that can be used to control the movement of the gantry mill. The most common commands are G-codes, which are used to control the movement of the cutting tool. Other commands, such as M-codes, are used to control the machine’s spindle speed and other settings.
Finally, it is important to understand the different types of programming languages that can be used to control the gantry mill. The most common language is G-code, which is a text-based language that is used to control the movement of the cutting tool. Other languages, such as APT and FANUC, are also used to control the gantry mill.
By understanding the basics of 5 axis CNC gantry mill programming, it is possible to create programs that can be used to control the movement of the cutting tool. This knowledge can be used to create programs that are more efficient and accurate, resulting in better results for the user.