Step-by-Step Guide to Installing a 5 Axis Milling Head on a CNC Gantry Mill
Welcome to the guide on how to install a 5 Axis Milling Head on a CNC Gantry Mill! This guide will walk you through the steps necessary to get your milling head up and running.
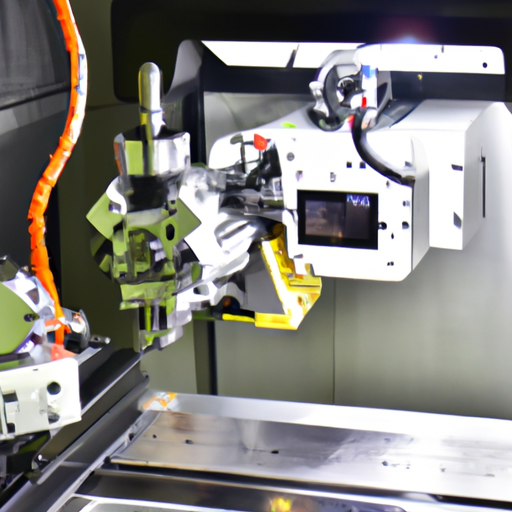
Step 1: Unpack and Inspect the Milling Head
The first step is to unpack the milling head and inspect it for any damage. Make sure all the parts are present and that there are no signs of wear or damage.
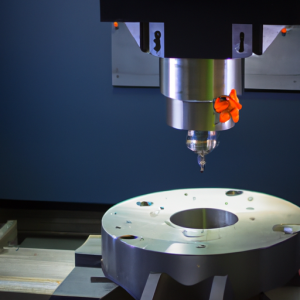
Step 2: Mount the Milling Head
Once you have inspected the milling head, you can begin to mount it to the gantry mill. Make sure to use the appropriate mounting hardware and follow the instructions provided with the milling head.
Step 3: Connect the Electrical Wiring
Once the milling head is mounted, you will need to connect the electrical wiring. Make sure to follow the instructions provided with the milling head and use the appropriate wiring.
Step 4: Install the Software
Once the wiring is connected, you will need to install the software for the milling head. This will allow you to control the milling head from your computer.
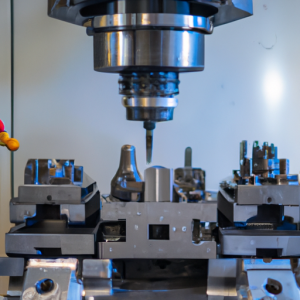
Step 5: Test the Milling Head
Once the software is installed, you can begin to test the milling head. Make sure to follow the instructions provided with the milling head and use the appropriate tools.
Step 6: Adjust the Settings
Once the milling head is tested and working properly, you can begin to adjust the settings. This will allow you to get the most out of your milling head.
Step 7: Enjoy Your New Milling Head
Once you have adjusted the settings, you can begin to enjoy your new milling head. Make sure to follow the instructions provided with the milling head and use the appropriate tools.
We hope this guide has been helpful in getting your 5 Axis Milling Head up and running. If you have any questions or need any additional help, please feel free to contact us.
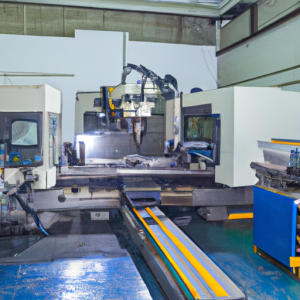
Understanding the Benefits of Installing a 5 Axis Milling Head on a CNC Gantry Mill
Installing a 5 axis milling head on a CNC gantry mill can be a great way to increase the efficiency and accuracy of your machining operations. This type of milling head is capable of performing complex machining operations in a single setup, which can save time and money. In addition, the 5 axis milling head can provide greater flexibility and precision when machining complex parts.
The first benefit of installing a 5 axis milling head on a CNC gantry mill is the increased efficiency it provides. By being able to perform multiple operations in a single setup, the time required to complete a job is significantly reduced. This can be especially beneficial for high-volume production runs, where time is of the essence. Additionally, the 5 axis milling head can be programmed to perform multiple operations in a single cycle, which can further reduce the time required to complete a job.
The second benefit of installing a 5 axis milling head on a CNC gantry mill is the increased accuracy it provides. By being able to perform multiple operations in a single setup, the accuracy of the machining operations is improved. This is especially beneficial for complex parts, where accuracy is critical. Additionally, the 5 axis milling head can be programmed to perform multiple operations in a single cycle, which can further improve the accuracy of the machining operations.
The third benefit of installing a 5 axis milling head on a CNC gantry mill is the increased flexibility it provides. By being able to perform multiple operations in a single setup, the flexibility of the machining operations is improved. This is especially beneficial for complex parts, where flexibility is important. Additionally, the 5 axis milling head can be programmed to perform multiple operations in a single cycle, which can further improve the flexibility of the machining operations.
Overall, installing a 5 axis milling head on a CNC gantry mill can be a great way to increase the efficiency, accuracy, and flexibility of your machining operations. By being able to perform multiple operations in a single setup, the time required to complete a job is significantly reduced, while the accuracy and flexibility of the machining operations is improved. If you are looking for a way to increase the efficiency and accuracy of your machining operations, then installing a 5 axis milling head on a CNC gantry mill may be the perfect solution.
Troubleshooting Common Issues When Installing a 5 Axis Milling Head on a CNC Gantry Mill
If you’re having trouble installing a 5 axis milling head on a CNC gantry mill, don’t worry – you’re not alone! This is a common issue that many machinists face, and there are a few steps you can take to troubleshoot the problem.
First, make sure that the 5 axis milling head is properly aligned with the gantry mill. This is a crucial step, as misalignment can cause a variety of issues. To check the alignment, use a dial indicator to measure the distance between the spindle and the gantry. If the distance is off, you may need to adjust the mounting brackets or the gantry itself.
Next, check the mounting hardware. Make sure that all of the bolts and nuts are properly tightened and that the mounting brackets are securely attached to the gantry. If any of the hardware is loose, it can cause the milling head to move or vibrate, which can lead to inaccurate cuts.
Finally, check the electrical connections. Make sure that all of the wires are properly connected and that the power supply is working correctly. If the power supply is not providing enough voltage, the milling head may not be able to reach its full speed.
By following these steps, you should be able to troubleshoot any issues you’re having when installing a 5 axis milling head on a CNC gantry mill. If you’re still having trouble, don’t hesitate to reach out to a professional for help.
In the field of precision machining, the integration of CNC tapping machines within boring mills has brought significant advancements, enhancing productivity,…
Weish CNC, a renowned CNC machine manufacturer, provides an in-depth comparison between CNC machines and laser cutters. Understanding the differences between…

 Step 3: Connect the Electrical Wiring
Once the milling head is mounted, you will need to connect the electrical wiring. Make sure to follow the instructions provided with the milling head and use the appropriate wiring.
Step 4: Install the Software
Once the wiring is connected, you will need to install the software for the milling head. This will allow you to control the milling head from your computer.
Step 5: Test the Milling Head
Once the software is installed, you can begin to test the milling head. Make sure to follow the instructions provided with the milling head and use the appropriate tools.
Step 6: Adjust the Settings
Once the milling head is tested and working properly, you can begin to adjust the settings. This will allow you to get the most out of your milling head.
Step 7: Enjoy Your New Milling Head
Once you have adjusted the settings, you can begin to enjoy your new milling head. Make sure to follow the instructions provided with the milling head and use the appropriate tools.
We hope this guide has been helpful in getting your 5 Axis Milling Head up and running. If you have any questions or need any additional help, please feel free to contact us.
Step 3: Connect the Electrical Wiring
Once the milling head is mounted, you will need to connect the electrical wiring. Make sure to follow the instructions provided with the milling head and use the appropriate wiring.
Step 4: Install the Software
Once the wiring is connected, you will need to install the software for the milling head. This will allow you to control the milling head from your computer.
Step 5: Test the Milling Head
Once the software is installed, you can begin to test the milling head. Make sure to follow the instructions provided with the milling head and use the appropriate tools.
Step 6: Adjust the Settings
Once the milling head is tested and working properly, you can begin to adjust the settings. This will allow you to get the most out of your milling head.
Step 7: Enjoy Your New Milling Head
Once you have adjusted the settings, you can begin to enjoy your new milling head. Make sure to follow the instructions provided with the milling head and use the appropriate tools.
We hope this guide has been helpful in getting your 5 Axis Milling Head up and running. If you have any questions or need any additional help, please feel free to contact us.